Wednesday, 14 October 2015

Pumpkin Creme Brulee


Canadian Thanksgiving has come and gone, and so have the pumpkin pies! As pumpkin pie is not a great favourite in our house, we usually opt for something else made with pumpkin...pumpkin cheesecake is often one of our choices. This year I decided to make pumpkin creme brulee.

The custard has pumpkin puree, dark rum and, or course, spices. The crunchy caramel topping gives way to a cold, creamy custard...I could never get tired of this dessert!

As I still had some pumpkin puree left from when I made the Sour Cream Spiced Pumpkin Streusel Cake , this worked out well. I also had some whipping cream to use.

This dessert is best made the day before so that it can chill and set completely before the sugar is caramelized on top. I also prefer to make it in individual sized ramekins, but it can be made in one large dish and portioned at the table.


To make the custard, whisk together:

1 cup pumpkin puree
1/3 cup white sugar
1 teaspoon cornstarch
1/4 teaspoon cinnamon
1/8 teaspoon ground ginger
1/8 teaspoon ground nutmeg
5 egg yolks


In a heavy bottomed saucepan, scald:

2 cups whipping cream
1 1/2 tablespoons dark rum


Turn the oven on to 325F to heat. Have a roasting pan or ovenproof dish ready; make sure it has a flat bottom. Place 4 individual ramekins into the roasting pan, and set aside.


Whisking constantly, slowly add the hot whipping cream to the pumpkin mixture. If you add the hot cream too quickly, the egg yolks will cook and scramble.

Pour the custard into a jug, if that makes pouring it easier for you.


Divide the custard evenly between the four ramekins.

Pour hot water into the roasting pan, until it comes about 1" up the sides of the ramekins.


Place the roasting pan carefully into the oven.

Bake until the custard is set in the middle...no more jiggling when gentle tapped. This should take about 45 minutes.

Remove from the oven and, as soon as they are cool enough to touch, take the ramekins out of the water, put them on a tray and refrigerate overnight.


When you are ready to serve the creme brulee, sprinkle:

1 tablespoon sugar

as evenly as possible over the top of the cold custard, making sure to spread it all the way to the edges.


Use a blowtorch to melt the sugar, moving it around as the sugar melts and caramelizes to avoid burning the sugar.

Leave the creme brulee for 5 minutes before serving; this allows the hot melted sugar to set.


Use a spoon to crack the hard, caramelized sugar open so that the creamy custard can be eaten. Yummy! Happy Thanksgiving!


  • This dessert does not offer a lot of flexibility, but the few things that can be played with will transform it. Spices can be played with...try fresh ginger, infused in the cream and rum; add a pinch of ground cloves or allspice; add vanilla or almond extract.
  • Brown sugar can be used instead of white. Maple syrup can also be used. You can substitute it directly, or if you feel that will be too sweet, use 1/4 cup of maple syrup in place of the 1/3 cup of white sugar.
  • Baked butternut squash or sweet potato can be used instead of pumpkin. 
  • No rum? Use orange liqueur instead, and add a bit of grated orange zest to your custard.
  • When you are ready to caramelize the sugar on top of the custard, you can use brown sugar if you prefer. The most important things to remember are that the sugar is spread evenly so that it melts and caramelizes evenly, and to keep the blow torch moving to prevent burnt spots.
  • If you don't have a blowtorch you can caramelize the sugar under the broiler. Turn it on to get really hot, then place the custards as close to the flame as possible. Keep a close eye on the sugar, and turn the custard as needed to prevent burnt spots.
  • Nuts such as hazelnuts or pecans can be finely ground in a food processor along with some sugar. Spread this on top of the custard and then caramelize, being extra careful not to burn the nuts.
  • Add finely chopped white chocolate to the bottom of the ramekins before adding the custard and baking. The white chocolate can also be added to the warm whipping cream, and whisked until it melts, before proceeding with the recipe. You will need 3 - 4 ounces of chocolate.
  • The baked and chilled custard can be served topped with whipped cream, without the crunchy layer of sugar.
  • Remember to save the egg whites and freeze them for another use...meringue, buttercream or angel food cake are a few options. When using the egg whites, defrost them and measure them in a measuring jug. 1 liquid ounce of egg white = 1 egg white.
  • The reason for baking the custard in water is to ensure an even bake, as the water helps to regulate the temperature.
  • The custard can be baked and kept in the refrigerator for up to 3 days.
  • This recipe will make 4 - 6 creme brulees, depending on the size of your ramekins.

Monday, 12 October 2015

Smoked Chicken and Potato Salad


For some reason there was one smoked chicken breast in the freezer, not really enough to feed more than two people. It just so happened that there were only two of us for dinner, and combined with a few purple potatoes, green beans, hardboiled egg, grape tomatoes and mixed baby greens I turned it into a colourful, tasty salad. My inspiration was salad Nicoise, with the chicken replacing the tuna. I had no olives, so those were omitted!

The chicken and potato salad was warm, with a lemon caper mayonnaise, made using the juice from a lemon that had previously been zested and the last capers in the jar. It's a good idea to make the mayonnaise first, so that the flavours can blend while you prepare the rest of the salad.


In a bowl, combine:

1/2 cup mayonnaise
Juice of half a lemon
2 tablespoons roughly chopped capers
Salt and pepper to taste

Set aside until needed.


In a pot of lightly salted water cook baby potatoes until tender. Drain and leave until cool enough to handle.


Cut the potatoes into quarters and place into a large bowl.

Season with salt and pepper.


Dice the smoked chicken breast and cook over a medium high heat until cooked through, with the edges starting to crisp slightly.

Remove from the heat and allow to cool while you prepare the greens.


Blanch green beans, drain and run under cold water to stop them from overcooking.

Set aside.


Start to plate the salad. Make a bed of mixed baby greens, and put a mound of green beans in the centre.

Scatter halved grape tomatoes around the beans.


Cut one hardboiled egg per person into wedges and place around the plate, as shown.


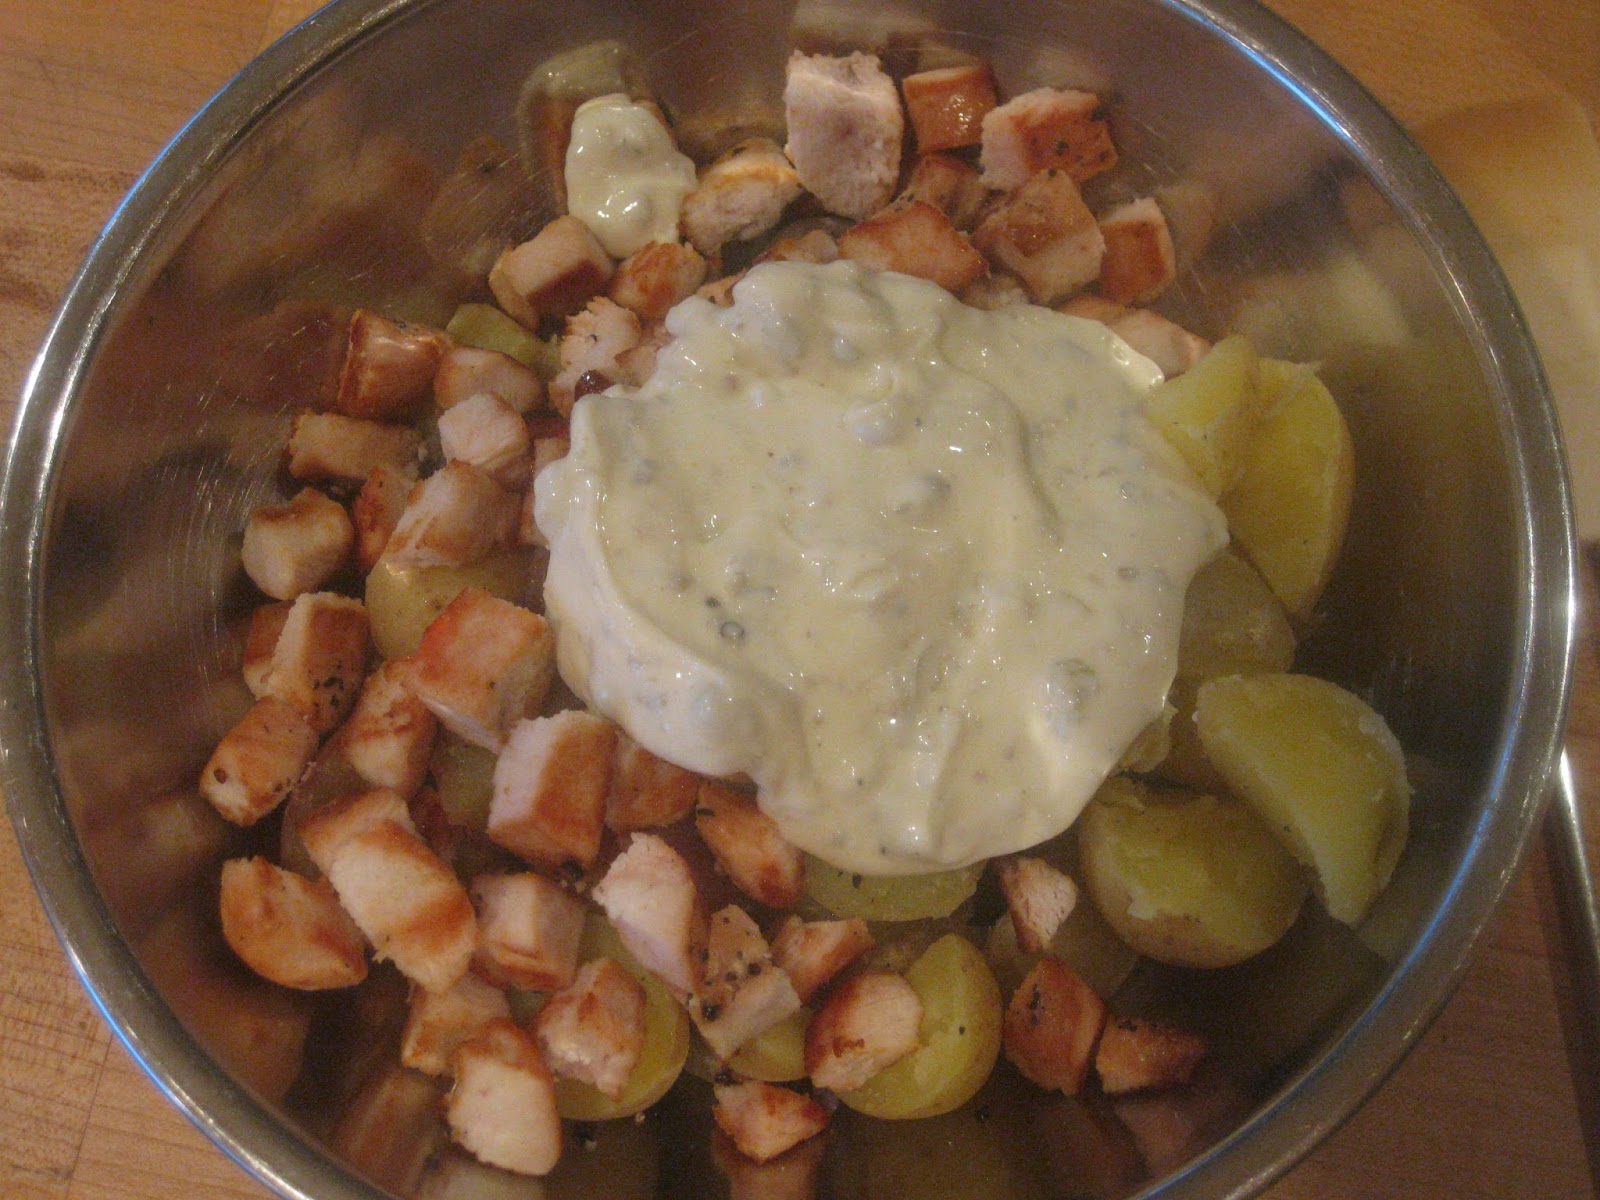
Add the cooked chicken and lemon caper mayonnaise to the potatoes and mix gently to combine, making sure that everything is coated with mayonnaise.

Taste and adjust seasoning.


Place a generous amount of the warm chicken and potato salad on top of the green beans.

Bon appetit!


  • I chose not to dress the salad greens as the mayonnaise that was on the potato and chicken salad was enough for everything; with the potatoes and chicken still being warm the mayonnaise melted slightly and this became the dressing for everything else. If you want to use a dressing on the greens something light would be best...try olive oil and fresh lemon juice.
  • I often hard boil eggs and keep them in the fridge for snacks or use in meals like this. If you don't have eggs that are already cooked, boil them and when they are about 1 minute away from being cooked to your preference, add the green beans to the water to blanch.
  • Traditionally salad Nicoise also has olives and anchovies along with the other ingredients. The greens are optional.
  • If you have anchovies, add them to the salad, or mash them with the lemon juice and add them to the mayonnaise. Always keep in mind that anchovies are incredibly salty, so use them sparingly, and taste everything before seasoning with salt.
  • The smoked chicken can be replaced with regular chicken breast, fresh grilled or seared tuna steak, canned tuna (if you can, use tuna that is in oil as it has more flavour and richness).
  • The grape tomatoes can be replace with large tomatoes, cut into slices or wedges.
  • To increase the lemon flavour in the mayonnaise use some lemon zest as well. My lemon had already been zested, so I couldn't do this.
  • This is a perfect light lunch or a dinner on the patio in the summer. The salad can be taken on a picnic, or turned into a sandwhich by layering it all on fresh crusty bread.

Friday, 9 October 2015

Sour Cream Spiced Pumpkin Streusel Cake


With Thanksgiving just around the corner there have been pleas for pumpkin pie from the only pumpkin pie lover in the house...I made this as a compromise and it has been enjoyed by everyone, even the pumpkin hater!

A cross between a coffee cake with a streusel topping and pumpkin pie, it satisfies everyone. The cake is tender and moist, the pumpkin layer pays tribute to pumpkin pie and the streusel topping using oats and pumpkin seeds adds texture and crunch.

Part of the inspiration was a small container of pumpkin seed streusel in the freezer, leftover from the Pumpkin Streusel Tart and Pumpkin Loaf with Orange and Raisins last year. It has been sitting in a tightly closed container waiting to be used, and I have been waiting for the right time to use it. I added it to the streusel for the coffee cake...finally it's used up!


Start by greasing a 9" X 13" ovenproof dish, and turning the oven on to 350F.


In the bowl of a stand mixer, measure out:

1/2 cup flour
1/2 cup brown sugar
4 oz cold butter, cubed
1 teaspoon cinnamon
1/4 teaspoon ground ginger


Using the paddle attachment mix on low speed until the butter is incorporated and large clumps begin to form.

Remove the crumble from the mixer.

Add:

1/4 cup pumpkin seeds
1/2 cup streusel (see the post Pumpkin Streusel Tart for the recipe)

Mix together using your fingertips to break up any really large clumps.

Set aside.


Make the pumpkin layer by whisking together:

1 1/2 cups pumpkin puree
1/3 cup brown sugar
1/4 cup sour cream
2 eggs
Generous 1/2 teaspoon cinnamon
1/4 teaspoon ground ginger
Pinch ground nutmeg

Set aside.


To make the coffee cake, place the dry ingredients and butter into the bowl of a stand mixer. You will need:

2 cups flour
1 cup brown sugar
1/2 cup white sugar
1 teaspoon baking soda
4 ounces cold butter, cubed


Using the paddle attachment, mix on low speed until the butter is incorporated, and the mixture is fine and crumbly.


Add the wet ingredients all at once:

1 cup buttermilk
1 egg
1 teaspoon vanilla


Mix until everything is just combined, finishing it by hand with a rubber spatula.


Spread the cake batter evenly over the  bottom of the greased dish.


Place the pumpkin filling on top of the cake batter and gently spread that as evenly as possible, making sure that the cake batter does not get mixed in with the pumpkin filling.


Scatter the streusel over the top of the pumpkin layer.


Bake until a wooden skewer inserted into the centre of the cake comes out clean, about 45 minutes.
Allow the cake to cool to room temperature before portioning. It can be served as is, or heated again and accompanied by ice cream or whipped cream.


  • I was sure that there were some toffee bits left in the cupboard, and I had planned to also add that to the streusel. Someone must have used them, as I couldn't find them. They will add a sweet crunch to the topping.
  • Any nuts can be used; I felt that pumpkin seeds were called for in this instance, and I had quite a few to use!
  • Other things to add to the streusel include chocolate or butterscotch chips, orange zest, minced candied ginger.
  • As I mentioned, the streusel can be kept in a tightly sealed container in the freezer for up to a year, so make as much as you want. An option is to omit the pumpkin seeds from the recipe, and add in nuts or seeds when you take the streusel out of the freezer to use. That way you can make a large batch, and customize it each time you use it.
  • If you want to make pumpkin pie, double the pumpkin filling recipe and pour it into a pie crust and bake at 350F until it is just set in the centre.
  • The pumpkin filling can also be used to make a swirled pumpkin spice cheesecake. Make a vanilla cheesecake batter and set aside 1/4 of the batter. Pour the vanilla batter onto the baked crust. Stir the pumpkin filling into the reserved batter and drop blobs of pumpkin batter onto the vanilla, using a toothpick to swirl the two together before baking.
  • I used canned pumpkin puree; if you choose to cook your own pumpkin make sure you buy a baking pumpkin and not a carving pumpkin. Look for varieties that are labelled sugar pumpkin or pie pumpkin. These have denser, sweeter flesh than the stringy, watery and flavourless flesh found in carving pumpkins. Cut the pumpkin into smaller pieces and place on a baking sheet to roast until the flesh is tender, placing the cut side up to obtain a richer roasted flavour. The pumpkin can also be cut in half and placed cut side down for roasting. Roast until the flesh is tender, about 1 hour at 350F. When the pumpkin is cool enough to handle, scrape the cooked flesh out of the skin and mash or puree to the consistency you prefer.
  • Alternatives to pumpkin are butternut squash, sweet potato or yams. 
  • This cake can be made into muffins, or loaves.

Thursday, 8 October 2015

Four Cheese Baked Pasta with Chicken, Artichokes and Roasted Red Pepper


After a weekend away, I returned to a fridge full of bits and pieces and decided to turn them into a baked pasta dish. Using four different cheeses...goat cheese, Parmesan, ricotta and mozzarella, along with some Basic Tomato Sauce that was in the fridge resulted in a creamy sauce.

There were 2 chicken breasts in the fridge, and I also used the half roasted red pepper, half zucchini, some caramelized onion, and the last 2 artichoke hearts that were there. A jar of garlic and eggplant dip that had 2 tablespoons left in it was also added to the dish. The fresh spinach was wilted and roughly chopped.

After using all of these bits and pieces up I felt really good, and the fact that the baked pasta was a success made me feel even better!

Start off by cooking 500g of pasta (I used penne) in a pot of lightly salted, boiling water. When the pasta is still slightly undercooked, drain it and set it aside until the sauce has been made.


Cut two chicken breasts into 1/2" pieces, season with salt and pepper and cook in a hot pan, with olive oil.

When the chicken is half cooked, remove it from the pan and set aside until needed.


Heat the same pan, add a bit more olive oil, and cook:

1/2 zucchini

When the zucchini is starting to caramelize and soften, season with salt and pepper and remove from the pan.


Add:

2 cups of Basic Tomato Sauce

Simmer the sauce for a couple of minutes, allowing the sauce to soften and remove the yummy goodness from the bottom of the pan.

Set aside.


Prepare the other vegetables:

1/2 roasted red pepper, diced
2 artichoke hearts, chopped
3 cups fresh spinach, wilted and chopped
3/4 onion, sliced and caramelized


Combine the cooked pasta with the chicken, zucchini, spinach, onions, red peppers and artichokes.


Add the Basic Tomato Sauce to the pasta, chicken and vegetables, using a rubber spatula to scrape all of the goodness out of the pan.

Put the pasta and sauce into a 9" X 13" ovenproof dish. Turn the oven on to 350F.


In a bowl, combine:

1 cup ricotta cheese
1/2 cup grated Parmesan
1/2 cup crumbled goat cheese
2 tablespoons garlic and eggplant dip
salt and pepper to taste


Place the cheese mixture over the top of the pasta, spreading it as evenly as possible.

Sprinkle grated mozzarella over the dish, filling in any patches that have no cheese.


Bake until everything is heated through, the sauce is bubbling and the cheese melts and gets crispy and golden. Allow the pasta to rest for 5 minutes before serving.


  • As I mentioned at the start of the post this meal was a way to use up a lot of things that had accumulated in the fridge while we were away for the weekend. When I pulled them all out my first thought was that this would take a couple of meals to deal with, but then it all started to come together in my head.
  • Pasta is a great way to use up vegetables, and this recipe takes advantage of that. The vegetables I used can easily be exchanged for others, such as olives; peeled and chopped fresh tomatoes that are a bit on the soft side; leftover grilled vegetables; the last of the broccoli; mushrooms to name a few. Experiment and you will be pleasantly surprised.
  • Use fresh herbs or spices to make the different flavours combine in a way that makes sense. Some suggestions: fresh basil or rosemary, fennel seeds or minced fresh garlic.
  • If you don't have any Basic Tomato Sauce, use cream sauce or pesto. Both of these are neutral sauces and can be used with most vegetables or meats.
  • I literally used up various bits of cheese (the mozzarella was frozen). The combination of 2 soft and 2 hard cheeses worked well, as well as the fact that the goat cheese and Parmesan have strong flavours and the mozzarella and ricotta don't. This balanced creaminess with sharpness.
  • Other creamy cheeses to try include cream cheese, brie or bocconcini. Sharper cheese include asiago, feta cheese or fontina.
  • This pasta dish can be served as a vegetarian dish; there was chicken in the fridge so I added it. Other meats to consider are sausages, grilled and sliced or removed from the casing and crumbled; meatballs, beef or turkey; leftover meats, diced. Shellfish should be added raw, just before baking, as it can overcook and become rubbery. Larger prawns or scallops work well, so does cooked lobster or crab meat.
  • Make sure that the pasta is slightly undercooked before adding the sauce and baking it; it will finish cooking as it bakes. I usually save some of the pasta cooking liquid until I am sure that the dish is saucy enough to provide the liquid needed for the pasta to finish cooking...it will absorb excess liquid as it cooks, and if you don't have enough liquid your dish will be dry. I didn't squeeze the excess liquid from the wilted spinach for this very reason.
  • This dish can be assembled the day before. It can also be assembled and frozen for baking at a later date.

Tuesday, 6 October 2015

Polenta Baked with Italian Sausage and Tomatoes


This is one of our favourite comfort foods, and I always seem to make it when I have to use one or more of the ingredients up...in this case it was the last can of tomatoes, some cooked Italian sausages and some mozzarella.

The reasons why I love this meal are many...it's easy to make and can be done ahead, it's quite adaptable to the ingredients you have on hand and it's a very satisfying meal.

Start off  by lightly greasing a 9" X 13" ovenproof dish, and turning the oven on to pre-heat to 350F.


Make the polenta first. In a medium sized saucepan with a heavy bottom, heat:

3 cups milk
1 teaspoon sugar
1/2 teaspoon salt
2 tablespoons olive oil


When the milk is hot, slowly whisk in:

1 cup cornmeal

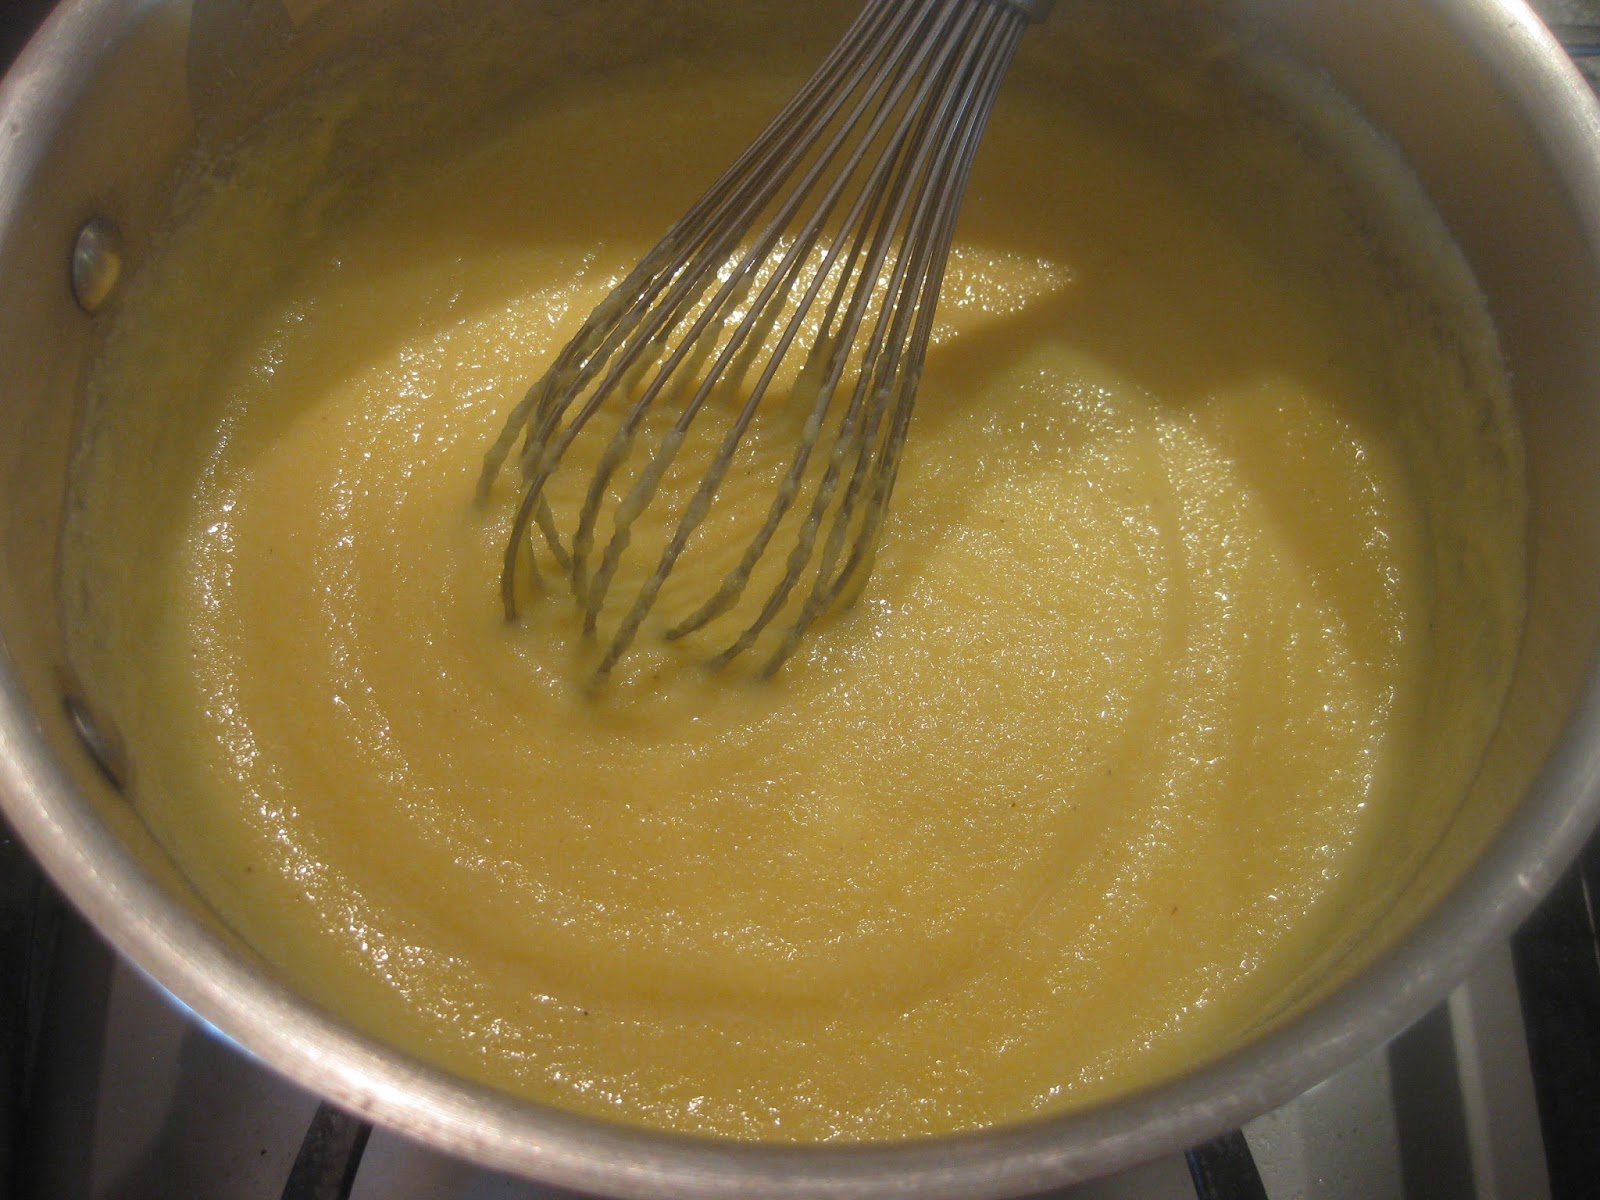
Continue to cook on a low heat, whisking often to avoid sticking, and to stop lumps from forming as the cornmeal starts to expand and thicken.


When the polenta starts to thicken and the whisk leaves trails it is halfway there. Time to switch to a rubber spatula and lower the heat as low as possible.


When the polenta is starting to become difficult to stir, and starts to leave the sides of the pan, turn off the heat.


Immediately stir in:

1/2 cup grated Parmesan cheese


Scrape the hot polenta into the prepared dish and spread as evenly as possible, using the rubber spatula. Set aside.


Sprinkle the cooked sausage evenly over the polenta.


In a small bowl, combine:

1 x 28 oz can plum tomatoes, drained and roughly chopped
2 cloves garlic, minced
4 green onions, thinly sliced
2 tablespoons olive oil
1 tablespoon dried basil
salt and pepper to taste


Spread the tomato mixture over the sausages, as evenly as possible.


Sprinkle grated mozzarella over everything, and place into the oven to bake.


Bake until the polenta, sausage and tomatoes are heated through, and the cheese is melted, bubbling and golden, about 30 minutes. Allow it to sit for 5 minutes before portioning.


  • The recipe can be doubled if needed; this serves 4 - 6 people.
  • As I mentioned earlier, it can be assembled ahead of time, up to 2 days ahead, and kept well wrapped in the refrigerator.
  • When making polenta, make sure you use cornmeal that is not finely ground...use medium or coarse ground. For the best results, use cornmeal that is specifically labelled 'polenta' as this type and grind of cornmeal are specifcally meant for making polenta. That being said, I have always used medium ground cornmeal and had good results.
  • I like to use milk, as it adds richness to the polenta, but feel free to use water or stock, or a combination of any of these.
  • Butter can be used instead of olive oil. If you really want to add extra flavour to your polenta, add a few drops of truffle oil at the end of the cooking.
  • Chopped fresh herbs, dried chili flakes, ground black pepper or any type of cheese can be mixed into the polenta before spreading it into the prepared dish.
  • If I have an excess of fresh tomatoes, or very ripe tomatoes, I peel, seed and chop them and use them instead of canned tomatoes. Diced sundried tomatoes, or roasted cherry tomatoes can also be added to the tomato mixture.
  • Fresh basil is a better choice than dried for this recipe, but I had none. It adds a lovely bright flavour, so if you are able to, use fresh. You will need about 1/4 cup chopped. Basil Pesto can also be used.
  • Basic Tomato Sauce can be used in place of the chopped tomato mixture.
  • I had some cooked Italian sausage, that had been removed from the skin and crumbled. If you are cooking sausages, you will need about 4. Other meats can be used...leftover pork, chicken or beef that has been diced; leftover stew; meat sauce from pasta; meatballs that have been sliced.
  • Add more vegetables if you like...grilled zucchini, eggplant, peppers; roasted garlic or red pepper; chopped cooked spinach; cooked sliced mushrooms (especially if you have added truffle oil).
  • Use grated asiago, fontina or mozzarella; sliced bocconcini; crumbled goat cheese or blue cheese.
  • The polenta can be made in individual dishes, as an entree, or as a side dish.