Thursday, 29 January 2015

Butternut Squash and Apple Soup


I had planned on using the butternut squash to make a soup, but when I found an apple with a very soft spot on one side, I added it to the soup. It gave a little bit of extra sweetness, and was a good way to use the apple (other than making apple sauce).


Start out by roasting the squash. Heat the oven to 400F. Cut the squash in half so that the section with the seeds is separated from the neck. Cut each in half lengthwise. Remove the seeds. Drizzle lightly with olive oil, sprinkle with salt and pepper and place cut side down in an ovenproof dish. Add about 1" of water.

Place in the oven and roast until the flesh is tender. Check this by pressing against the skin. Remove from the oven and allow to cool, before scraping the flesh away from the skin. Set the squash side until needed.


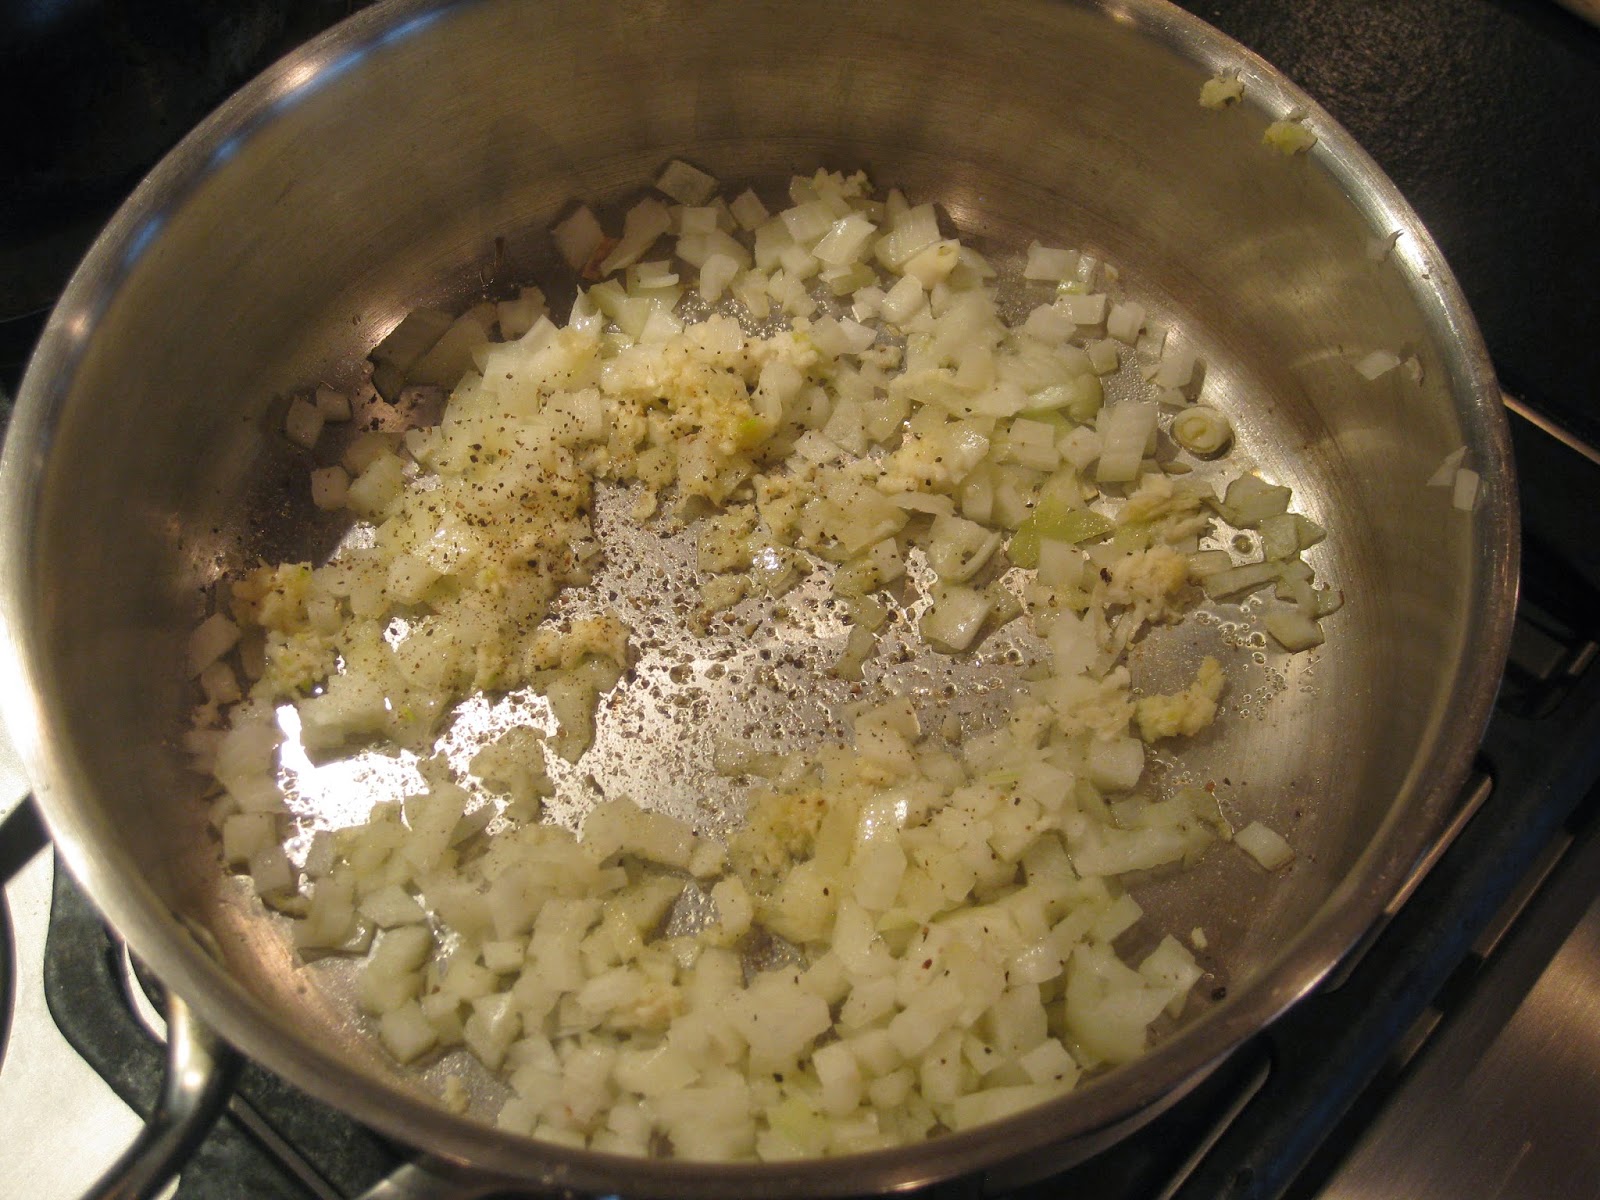
In a saucepan over medium heat, add a bit of olive oil, and cook:

1 small onion, diced
2 medium carrots, diced
1 apple, peeled, cored and diced

Cook, stirring every few minutes, until the vegetables start to soften.


Add in the seasonings:

1 teaspoon chopped fresh sage
1/2 teaspoon salt
1/4 teaspoon black pepper


Add the reserved squash. I had about 2 cups.

Pour in enough chicken stock to cover the vegetables. I used about 2 cups.

Simmer the soup until the carrots are soft and easily squished.


Remove the soup from the heat.

Puree, using a hand blender, blender or food processor.


Press the pureed soup through a strainer, to remove any lumps, and to ensure a silky smooth, creamy soup.

I like to use the back of a small ladle to do this.


Return the soup to the pot, and heat it up again. Adjust the thickness by adding milk.

Taste and adjust the seasoning.


 Serve the soup with a bit of sour cream as garnish, if you wish.


  • The roasted squash can be used in other dishes, such as butternut squash lasagne or Butternut Squash Mac 'n Cheese.
  • If you have a large amount of sweet potatoes, they can be used in place of the squash. They can be roasted in their skin, whole, or diced and cooked with the other vegetables and stock. Canned pumpkin can also be substituted for the squash.
  • Use vegetable stock or water if you want a vegetarian soup.
  • I added milk to my soup at the end, as that was all I had. Whipping cream will up the richness factor of your soup, if you have some available. If you have some coconut milk to use up, that can also be used.
  • Pear can be used instead of apple.
  • Change the flavour profile of your soup by using curry powder as a seasoning; use coconut milk instead of milk and garnish it wil toasted coconut. Other ideas to try: add fresh ginger; garnish the soup with a slice of toasted baguette with goat cheese or use a spice such as start anise.
  • The soup can be made ahead and kept in the fridge for 2 - 3 days, or it can be frozen.

Sunday, 25 January 2015

Roast Garlic Shortbread Quiche Crust


This crust is easy to make, does not require rolling out, is full of sweet roasted garlic flavour, has a beautiful crumbly texture and a definite richness to it.

Start out by roasting a head of garlic. Heat the oven to 400F.


I like to separate the cloves before placing them onto a piece of foil, and drizzling them with a bit of olive oil.

Wrap the foil loosely around the garlic and place it in the oven to roast until the cloves are soft. This takes about 20 minutes; when I start to really smell the garlic is when I check their status.


When the garlic is done, allow it to cool, and then remove the skins from the cloves. The garlic should just slide right out with a gentle squeeze.


In the bowl of a stand mixer, place:

2 cups flour
1 cup soft butter
the roasted garlic


On a low speed, using the paddle, mix until everything forms a dough. Mix only until it all comes together.

This should have the consistency of a regular sweet shortbread dough. If it is too soft to press into the tart shell, wrap well and refrigerate for a couple of hours.


Place the dough into a tart shell. I used an 11" one; a 10" will work as well.

I like to start with the edges first. Press the dough up against the sides, as evenly as you can, and using your thumb flatten the top.


Then move onto the bottom, gently pressing the remaining dough down, again as evenly as possible.

Place the tart shell into the fridge for a couple of hours to chill before baking.


Heat the oven to 350F,  place the tart shell onto a baking sheet and bake until set and golden. this took about 20 - 25 minutes. The bottom of the crust does puff up a bit. I just use the back of a spoon to gently press it back down again.


  • I used salted butter; if you are using unsalted butter add 1/4 teaspoon of salt to the recipe.
  • Hard margarine can be used in place of the butter.
  • Additional flavourings can be added. Try ground black pepper; chopped fresh herbs such as parsley, chives or thyme; dried herbs or spices such as cayenne pepper, oregano or ground fennel seeds; grated Parmesan cheese.
  • The dough can be made ahead and refrigerated, or frozen, as long as it's well wrapped.
  • The tart shell can be lined a day or two ahead; it can also be kept in the freezer (well wrapped) and taken out when you are ready to bake it.
  • I filled mine with my last 1/2 leek, the last handful of grape tomatoes, a bit of cooked bacon and the bits of Swiss and asiago cheese that were in the fridge,.
  • Try this recipe that uses prosciutto, ricotta cheese, thinly sliced apples and blue cheese, that would be delicious in this crust. Pears can be used instead of apples; goats cheese can be used instead of blue cheese.
 
2 TABLESPOONS OLIVE OIL
4 LARGE SHALLOTS, PEELED AND THINLY SLICED
1 GARLIC CLOVE, MINCED

8 OUNCES RICOTTA CHEESE
2 TABLESPOONS FRESH THYME LEAVES
2 TABLESPOONS FRESH PARSLEY, CHOPPED

3 EGGS
2 EGG YOLKS
1 CUP WHIPPING CREAM
SALT AND PEPPER

7 OUNCES BLUE CHEESE, CRUMBLED
4 THIN SLICES PROSCIUTTO
1 APPLE, CORED AND THINLY SLICED


  • HEAT OVEN TO 350F.
  • HEAT OLIVE OIL, COOK SHALLOTS AND GARLIC UNTIL SOFT AND CARAMELIZED.
  • ADD RICOTTA AND HERBS AND COOK FOR A FURTHER 2 MINUTES.
  • SPREAD ONTO THE BOTTOM OF THE TART SHELL.
  • WHISK TOGETHER EGGS, EGG YOLKS, CREAM AND SEASON WITH SALT AND PEPPER.
  • POUR INTO THE CRUST.
  • SPRINKLE THE BLUE CHEESE OVER THE TOP OF THE CUSTARD.
  • LAY THE PROSCIUTTO AND APPLE SLICES ON TOP OF THE CHEESE.
  • PLACE THE TART IN THE OVEN AND BAKE UNTIL RISEN AND GOLDEN, ABOUT 25 MINUTES.

Wednesday, 7 January 2015

Warm Self-saucing Chocolate Pudding


This was not an attempt to use anything up, it was a 'Just Because we want Dessert' event. I used up a lot of little bits and pieces when I made dinner though, various small amounts of vegetables, so we ended up with quite a selection, but not enough of everything for everyone!

This pudding is easy to put together, and is quite magical in the way it turns out, making its own sauce while it bakes. The sauce ends up on the bottom of the pudding, and is a nice surprise for those who aren't expecting it.

The recipe can be used as a way to use things up, see some ideas at the end of the blog.


Turn the oven on to 350F. Lightly grease a souffle dish or other deep ovenproof dish.


Heat:

1/2 cup milk
50g butter
1 teaspoon vanilla

When the butter has melted, remove from the heat.


In a large bowl, measure the dry ingredients:

1 cup flour
1/2 cup white sugar
1 teaspoon baking powder
1 tablespoon cocoa
1/2 teaspoon ground cinnamon


In a separate small bowl, combine:

1/2 cup brown sugar
1 tablespoon cocoa


Set aside until needed.


Add the warm milk and melted butter to the dry ingredients and mix gently until just combined.


Scrape the batter into the prepared dish.


Now sprinkle the brown sugar and cocoa mix evenly across the top of the batter.


Measure out:

1 1/2 cups of boiling hot coffee (I use boiling water and add instant coffee to it)


Carefully pour the boiling hot coffee over the back of a spoon and onto the batter and brown sugar topping.

Pouring it over a spoon prevents it hitting the batter too hard and mixing with it; you want the liquid to stay on the top, this is where the magic happens.


Place the dish into the opven and bake for about 35 minutes. It will be puffed up, and set, and there will be no sign of the liquid....


....but when you dig into it with a spoon to serve it, there will be a lovely pool of sauce underneath the pudding!


  • There are a few important things to remember when making this: the coffee should be boiling hot and should be poured carefully so it stays on top of the batter; everything should be measured out and ready to go before you add the wet ingredients to the dry; leave the hot pudding to rest for 5 minutes before serving it, this allows the sauce to thicken up a bit.
  • Serve the pudding with whipped cream, custard or ice cream if you wish, we ate it as is!
  • I usually measure out all the ingredients, except for the boiling coffee, and grease the bowl. I then assemble it all and pop it into the oven just before serving dinner. That way it's ready when we are.
  • Substitutions for the milk can be coconut milk, unsweetened almond milk, unsweetened milky chai tea or unsweetened milky coffee ( a great way to use the last the pot) or even 1 tablespoon of cream liqueur such as Bailey's.
  • Use different spices, or none at all. I like cinnamon with chocolate, but ginger, star anise, hot chilies or cardamom also work well. Add in orange or lemon zest, along with the milk. Use almond or peppermint extract instead of vanilla.
  • Instead of boiling coffee, use just boiling water. Juice such as orange can also be used for part of the water, heat them together. If you have a little bit of liqueur left in a bottle, use that as part of the water. 1 - 2 tablespoons will be more than enough, and it can be added to the boiling water just before pouring it over the batter. Think dark rum, orange liqueur, cassis or even port.
  • If you don't have instant coffee, use the last cup or two from the pot, adding water to bring it up to the right amount, and heating it to boiling.
  • Chocolate chips, butterscotch chips, dried fruit or chopped nuts can be mixed into the dry ingredients for the batter...2 - 4 tablespoons  will be more than enough.
  • The recipe can be doubled, just use a larger dish, not a deeper one and adjust the baking time if necessary. This served 5 of us, but some of us wanted more!

Tuesday, 6 January 2015

Mexican Lasagne


For want of a better name, we call this meal 'Mexican Lasagne'... Mexican because the ground beef, corn and black beans are basically a taco filling, and lasagne because the meat is layered, with tortillas instead of pasta.

It's easy to make and assemble, hearty and filling and seems to be a hit with everyone who's tried it. It also gave me an excuse to use up the black beans in the freezer, the last pound of ground beef and the last of an open package of tortillas.


Start the meat filling by cooking, in a bit of olive oil:

1/2 medium onion, diced
4 cloves garlic, minced
salt and pepper


When the onions start to soften, add in 1 pound of ground beef.

Cook, breaking the meat up, and seasoning with a bit of salt and pepper.


Now add in the spices, and cook for a minute, stirring to distribute them evenly.

1 heaping teaspoon ground cumin
1 teaspoon dried oregano
1/4 teaspoon dried chipotle chilies
2 tablespoons Mexican chili powder


When the spices are well incorporated, add in:

1/4 cup tomato paste

Cook, stirring to combine for a couple of minutes.
Remove the pan from the heat.


Stir in:

Black beans, I had about 3/4 cup
Frozen corn, I used about 1 cup


Allow the meat mixture to cool to room temperature.


To assemble and bake the lasagne, have a 10" springform pan ready, and pre-heat the oven to 350F.


Grate 2 cups of cheddar cheese


Combine:

1 cup Basic Tomato Sauce
3/4 cup salsa


Mix 1/4 cup of the sauce into the meat mixture, just to moisten it a bit.


Line the bottom of the springform pan with a tortilla.


Spread a thin layer of the tomato sauce over the tortilla.

Spread a layer of the meat mixture over this, just enough to cover the sauce. Some gaps are okay.


Sprinkle a bit of the grated cheddar over the meat.

Continue to layer this way, gently pressing down on the tortilla in each layer, and ending with a meat layer.

I usually get 4 - 5 layers.


Sprinkle the remaining cheese over the top.


I like to place the springform pan onto a baking sheet in case of leakage. Bake for about 45 minutes, or until it is heated through and the top is bubbly and crisping up. Allow the lasagne to rest for about 5 - 10 minutes before removing the side of the pan and cutting it into wedges for serving.


This shows the layers after the ring has been removed from the springform pan


  • I used 10" tortillas, adjust the pan size according to the size of your tortillas. This works best in a round dish, but can be made in a square or rectangle...you might need to cut some of the tortillas in order to avoid having layers that are too thick.
  • I have made this using ground turkey instead of beef. You could try ground pork, or use cooked fish or prawns and make a fish taco version. 
  • Omit the meat and add in more beans and vegetables, cooked rice and cheese and make it a vegetarian lasagne.
  • Use as much cheese as you like! 
  • If you have extras such as red pepper (fresh or roasted), cherry tomatoes that can be roasted, soft tomatoes that can be chopped, green onions, other beans, cooked spinach... add these into the filling. That's what this blog is all about...using it up, and creating new flavours in the process.
  • Serve this with diced avocado, fresh tomatoes and green onions.
  • The meat can be used as taco filling, with either hard or soft shells. Roll the filling inside the tortillas, and place in an ovenproof dish, cover with the tomato-salsa sauce, top with cheese and you have enchiladas. It can also be used to stuff and bake peppers or tomatoes. Add in a can or two of chopped tomatoes, and you have a quick chili. Layer tortilla chips with the cooked meat, pickled or fresh jalapenos, olives, tomatoes and cheese and bake until heated through and you have nachos.
  • Adjust the spices according to your taste...I like cumin and tend to use a heavy hand with it. Increase the dried chipotle, or add in canned chipotles with some of the adobo sauce for an extra kick.
  • The lasagne can be made ahead and kept in the fridge, or it can be frozen for another time.
  • Cook extra meat, and freeze the filling as a timesaver for another time.
  • Extra or leftover meat can be used in wraps, on salads or as a pizza topping.